
Backup a Moodle course
Why we back up a Moodle course:
As an instructor, it’s useful to get a copy of our Moodle course that we can keep it safe outside of Moodle and perhaps to reuse it in a different Moodle site such as our organization or school site.
Moodle calls this copy as Backup.
What can be backed up in a Moodle course:
Actual course, content, and resources.
What cannot be backed up in a Moodle course:
-
Users’ information & data
-
External tool activities
-
UMass Libraries Course Material Block.
-
Wiki (legacy) and TurnItIn (legacy) activities will not be imported and must be recreated. However, Wiki and Turnitin Assignment activities created after May 2015 are imported and do not need to be recreated.
If you want to also back up that kind of data, please contact your organization’s instructional support.
How to make a backup of a Moodle course:
Step 1: Click Backup in Administration block on the left side of your course page.

Step 2: Follow up the instructions to decide what exactly you want to bring over with the copy of the course.
For beginners, the first thing to know is that there are X next to Include enrolled users and Anonymize user information.

This means because of security reasons, you can only back up the actual course content, resources, and activities.
You can’t back up the information, the data that our learners have included. If you want to also back up that kind of data, please contact your organization’s instructional support.
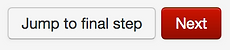
Step 3: Basically, all the clicked items are what you can choose so let’s scroll down and click the Next button.
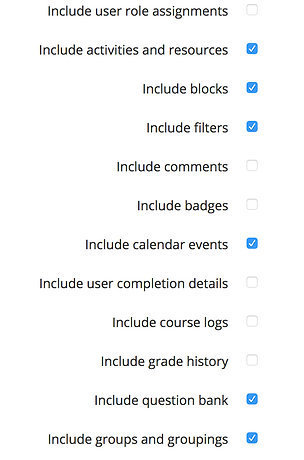
The next page will present a list of all your course’s activities and resources.
You need to decide what you want to keep.
By default, all of them are selected. If you don’t want to include an item you could untick the box and again, scroll down and once you’ve decided what you want to include and leave out, click the Next button.
Step 4: You are then prompted to check all of the settings. The backup course has been given a file name, which you have the option to rename it.

Then scroll down to make sure that all the settings and included activities and resources are what you want.
If you made a mistake, you can simply go back to the previous page by clicking at Previous.

Step 5: Now it’s time to click the Perform backup button to perform the backup.
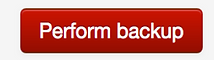
Then you will get a message that the backup file was successfully created.

Clicking on Continue button will take us to where we can get a copy of this backup file to download it and save it offline.
Step 6: Scroll down, you will see the User private backup area, which tells us the course and the size of it and the time that we actually backed it up.
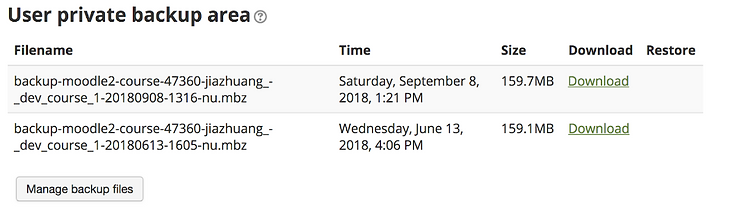
If you want to keep backup courses in a CD or USB drive, click the Download button and Save it.
Make sure you save it in a safe place on your computer.
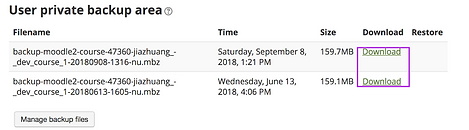

You cannot open this file/course upon your computer, it will only open on a Moodle site.